
Jars
Jars are one of my favorite types of pottery to make. They’re useful in so many ways and have a certain technical quality that makes them especially fun to create. They’re also a great canvas for carving or decoration since there are multiple pieces to coordinate. When you take the lid off a jar, the shape, weight, and feel all affect the experience. Ever felt like the knob on a lid didn’t quite fit your hand, or maybe it was tricky to grab and felt too delicate? Same goes for putting the lid back on — if it fits just right, it’s satisfying; if not, you’re left with an unsettling feeling. These are the kinds of things I try to account for (and rarely get perfect), but that process of trying to nail it all is what makes jars such a rewarding challenge.
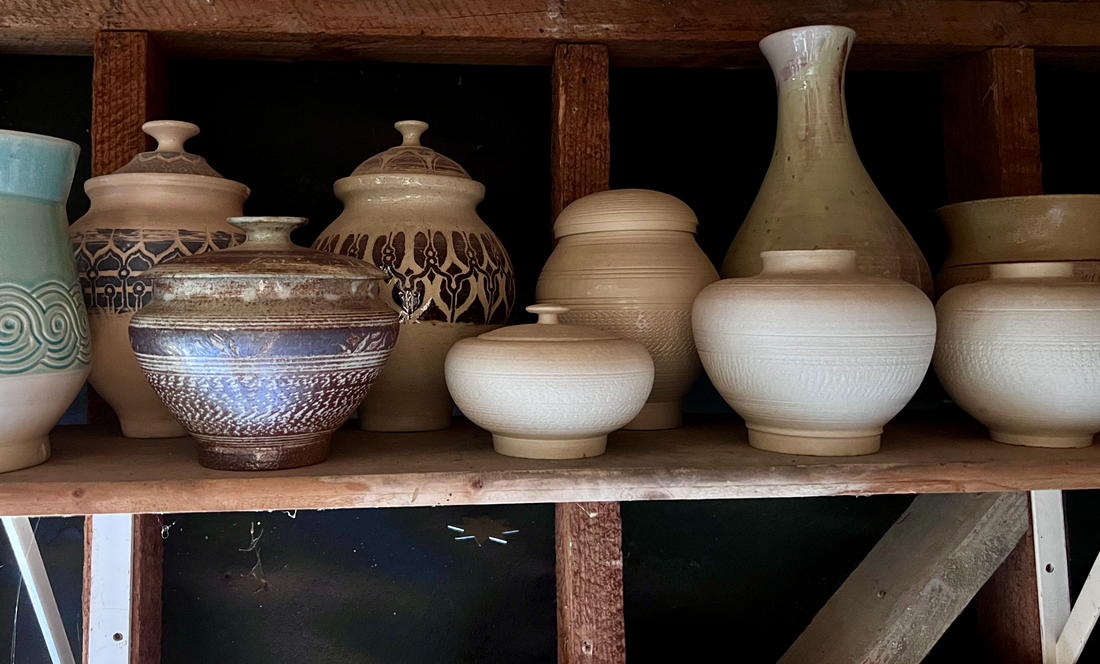
There’s so much more to say about jars, and I’ll definitely be diving deeper in future posts. For now, here are the three styles I usually stick with — they fall into three overarching categories: easy lid, easy base, and complicated lid and base.
Easy Lid
|
|
|
|
|
Simple groove in the rim |
Trim a tall foot on a bowl and you have a lid |


One of the easier jar styles to make is one where the lid is basically an upside-down bowl. The only technical part is creating a groove in the rim of the base jar. When I teach jars and lids in classes, this is where I start. The base can be any shape — it just needs a simple groove around the rim to hold the lid. I usually leave extra clay at the rim to press the groove using a small piece of wood, like a 10mm wide rectangular wedge or a DiamondCore WR6 tool. You can also fold the rim inward to create a ledge instead.
The lid itself doesn’t need technical precision, which makes this style easy to learn. I throw a bowl with extra clay on the bottom to trim into a knob. The bowl’s rim should be roughly the same diameter as the groove in the jar, and final adjustments can be done during trimming. I sometimes use pottery calipers, but often a wood rib or stick is enough to gauge the size — this lets me make multiple lids and jars that I can later pair up.
When trimming, I add a foot to the base of the jar, flip it upright, and clean up the groove. I test the lid for fit at this stage so I can fine-tune it. For the knob, I like a tall, foot-like shape that’s easier to grab and hold securely.
Easy Base
|
|
|
Simple base, complicated lid |

This is the reverse of the first style. The base jar here is just a regular bowl or vase — basically any shape. I barely think about the rim when throwing it, and again, I use a wood rib to get a rough measurement, but it’s not critical.
The lid is the trickier part. It needs some kind of ridge or overhang to nest into or around the base’s rim. I usually throw these flatter, with an L-shaped lip: the inner ridge fits inside the base, and the overhang rests on the rim. This design tends to be more reliable because the lid seats securely and can be made deeper for an even better fit. I don’t usually trim the rim on the base — any adjustments are made on the underside of the lid.
These lids can be flat or have any style of knob. If the overhang is wide enough, it serves as the handle, which makes this a great option for low-profile lids.
Complicated Base and Lid
|
|
|
Groove and L shaped overhang |

This category covers jars where both the base and lid involve technical details. Both parts usually need trimming and adjustment to fit well. The result, though, is a high-quality piece that’s incredibly satisfying to use. Not that the other methods are inferior, but this style has a particular feel that really clicks.
Closed-form jars are a good example. They have an interlocking lip and groove around the base and lid that allows for a seamless fit. These are often thrown as a single piece and then cut apart, which lets the shape remain consistent. Another variation is a base with a groove and a lid that drops in with a flush overhang — very little wiggle room makes this perfect for storing something valuable. It takes longer, so I don’t make these often, but when I do, I usually go with the closed-form method.
Where to Use Jars
|
|
|


Closed form jars with different style grooves for the lid
|
|
|
Small jars are useful everywhere in the kitchen. |

The short answer: everywhere. On a spice rack, a shelf, in the bathroom, bedroom, kitchen, or even the garden. They’re great for keys, dice sets, salt — you name it. One of my favorite recent uses is for holding flavored rock salt. It’s something we’ve been gifted a few times, and putting it in a small jar gives it a designated home without taking up much space. No more pinching from a plastic bag.
The more you think about it, jars are perfect for replacing plastic containers or organizers around the house. They bring a little extra intention and beauty to everyday tasks.
Share & follow
For any inquiries, please contact:
Email: info@buschkraftsolutions.com
Website: buschkraftsolutions.com